
DIY Makeup Storage Ideas That Look Beautiful
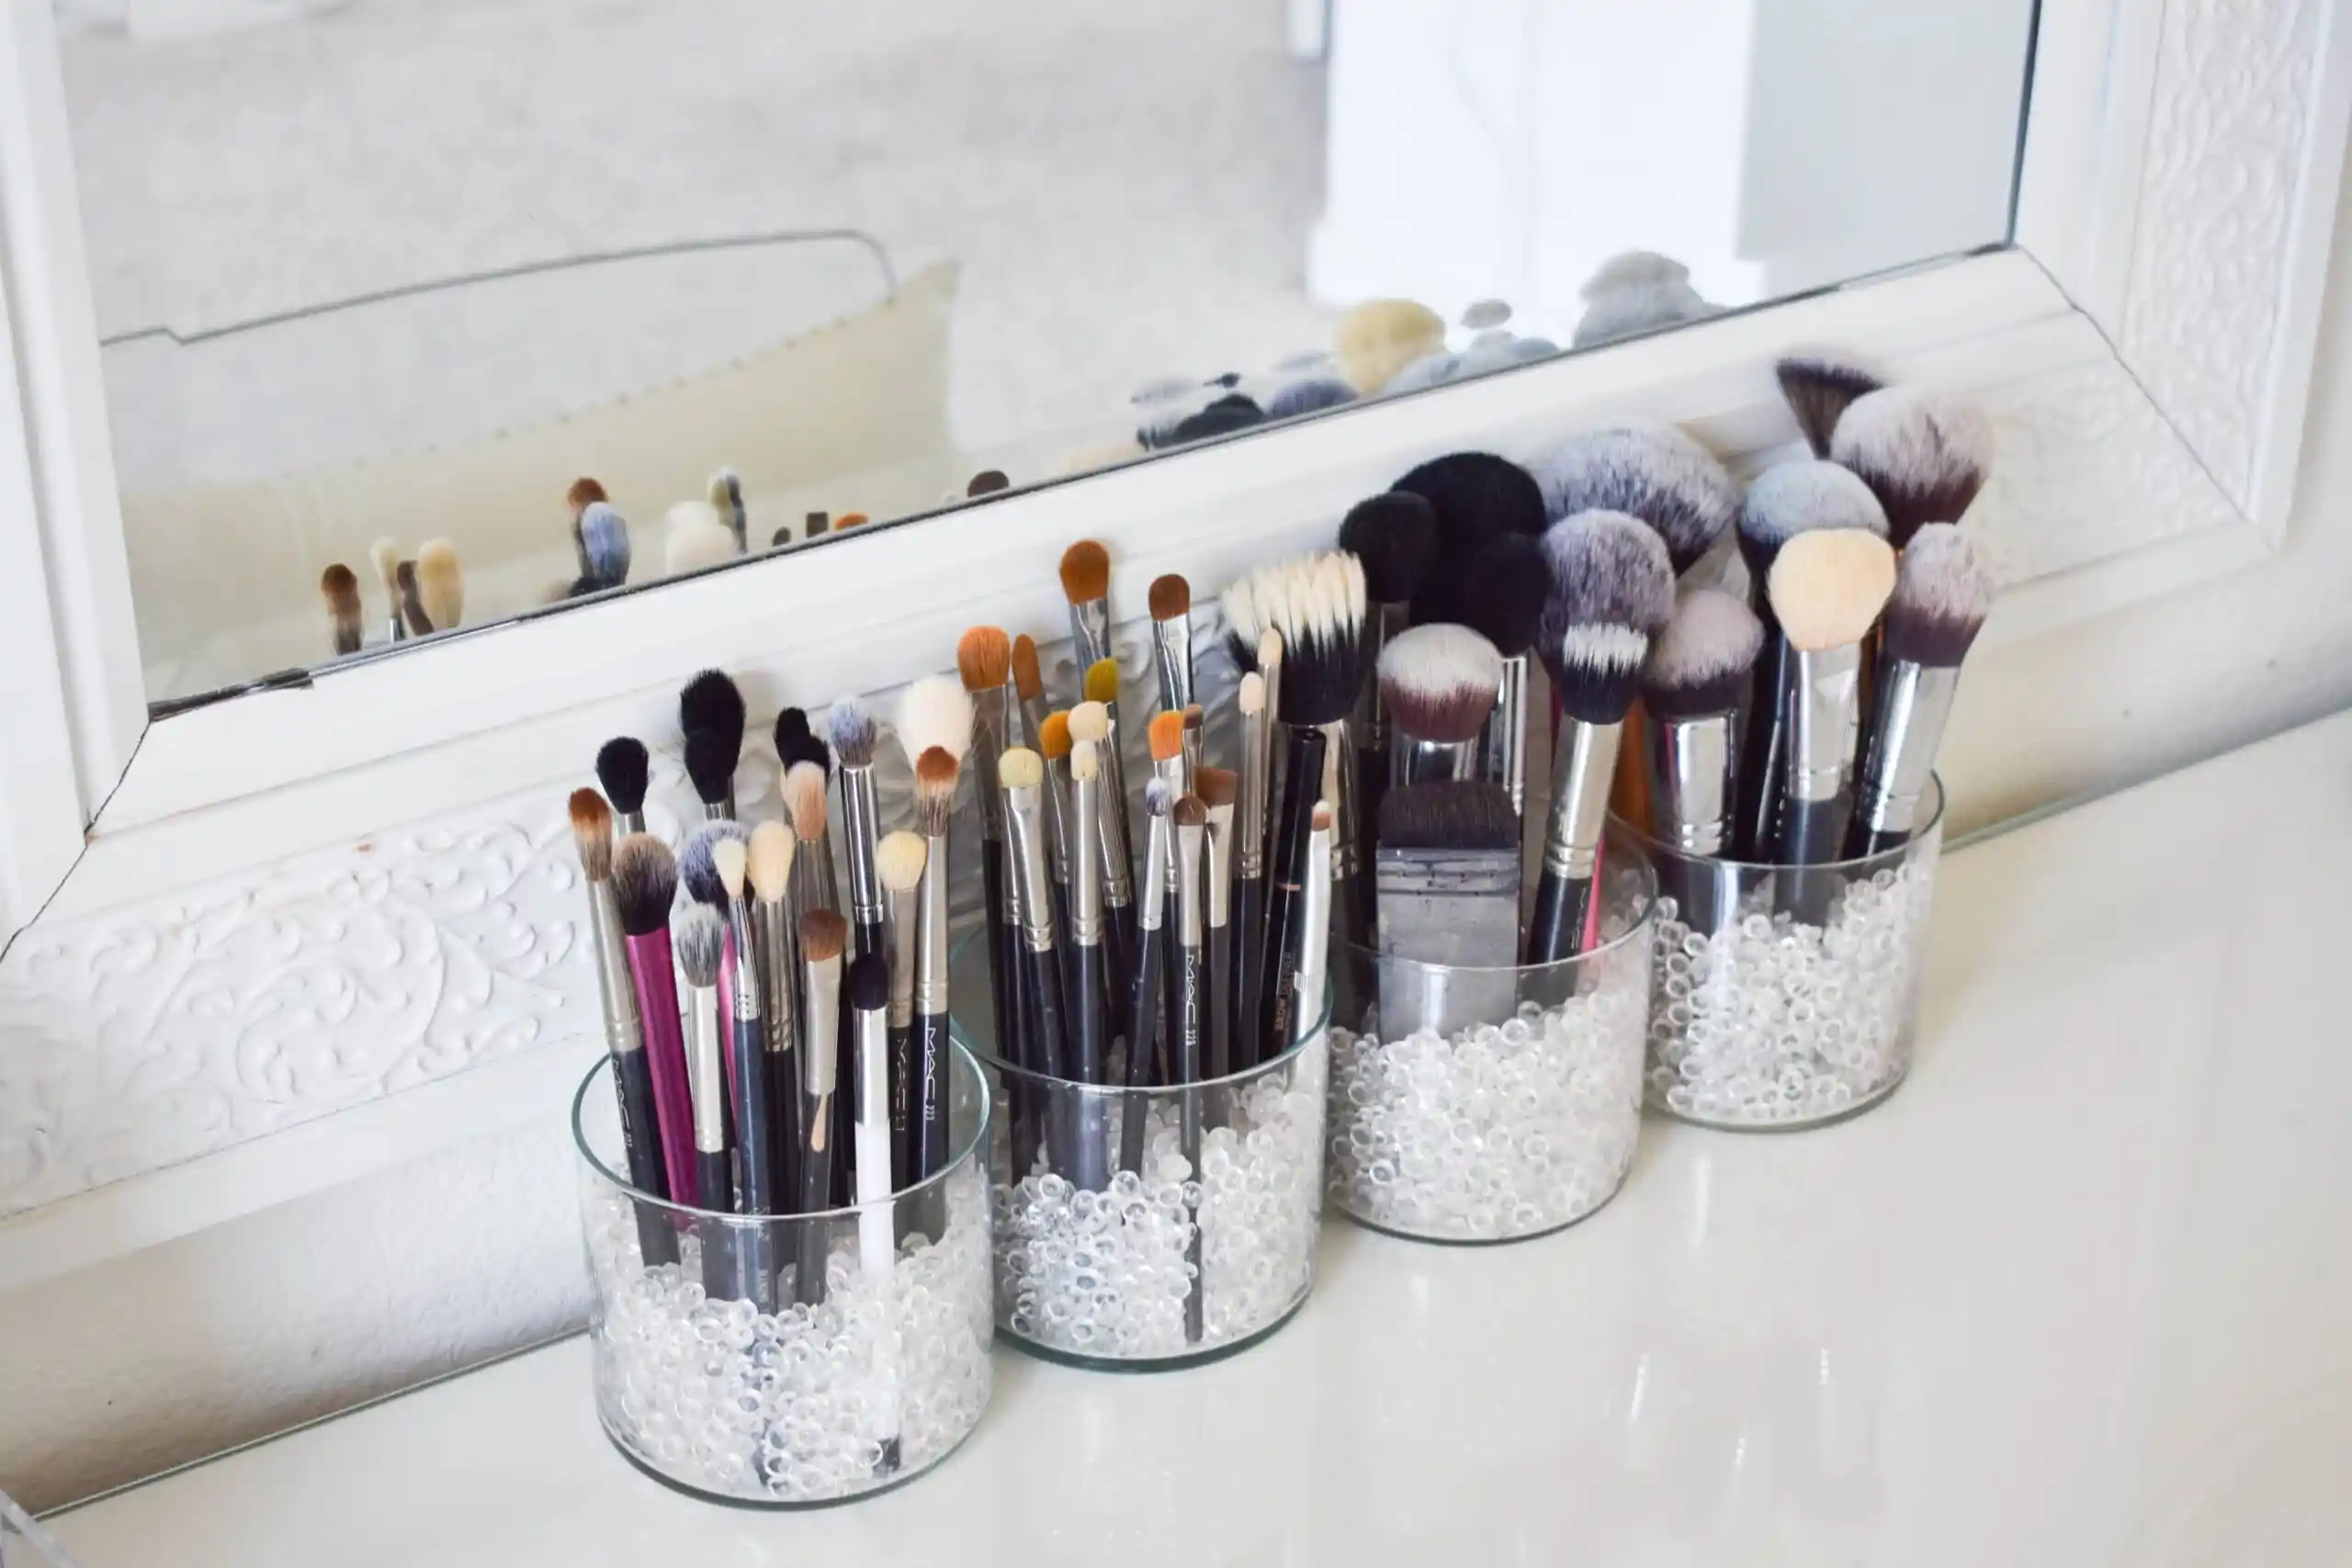
Makeup tends to spread across surfaces faster than expected, especially when everyday products are constantly in use. Brushes roll off tables, palettes stack unevenly, and small items disappear just when they’re needed most. That constant clutter started to take away from the enjoyment of getting ready, turning what should feel like a calm routine into a bit of a scramble.
A more organized setup made everything feel easier and more intentional. Instead of digging through piles or drawers, each item had a place that made sense. DIY makeup storage ideas that look beautiful helped me combine function with style, turning storage into something that actually enhanced the space rather than just hiding the mess.
Repurposing Glass Jars For Everyday Essentials
Glass jars quickly became one of the simplest and most effective ways to organize makeup. Their transparency made it easy to see exactly what was inside, which saved time during busy mornings. With a bit of cleaning and a few decorative touches, they turned into elegant storage pieces.
I used different sizes for different items, from brushes to lip products. Filling the jars with beads or small stones helped keep brushes upright and neatly arranged. Painting the lids or adding subtle accents allowed them to match the rest of the room without feeling out of place.
These jars worked well on countertops and vanities. They kept frequently used items within reach while still looking polished. The balance between practicality and design made them a reliable part of the setup.
Building Wooden Makeup Organizers With A Custom Fit
Wood offered a more structured and durable solution for organizing a larger collection. Designing a custom organizer allowed me to create compartments that fit specific items perfectly. This level of customization made a noticeable difference in how efficiently everything was stored.
Cutting and assembling the wood required some planning, but the process felt manageable with careful measurements. Dividing the organizer into sections for palettes, bottles, and smaller items helped keep everything in order. Sanding and finishing the surface gave it a smooth and refined appearance.
The final piece felt solid and intentional. It provided a designated home for each product, which made it easier to maintain organization. It also added a natural element to the space that complemented other decor.
Using Acrylic And Plastic Containers For A Clean Look
Clear acrylic and plastic containers brought a modern and minimal feel to the storage setup. Their sleek design made them blend seamlessly into different spaces without drawing too much attention. At the same time, they kept everything visible and easy to access.
Stackable containers worked particularly well for maximizing space. They allowed me to separate products while still keeping them within reach. Organizing items by category made it easier to find what I needed without searching through everything.
This approach created a sense of order that felt effortless. The clean lines and transparency added to the overall aesthetic. It showed how simple materials can create a polished and functional setup.
Crafting Drawer Dividers For Hidden Organization
Drawers often become cluttered if they’re not structured properly. Creating custom dividers helped bring order to spaces that were previously chaotic. This method worked especially well for items that didn’t need to be displayed.
Using materials like cardboard or thin wood, I built dividers that fit perfectly within each drawer. Separating products into categories made it easier to keep track of everything. Covering the dividers with fabric or paper added a neat finish.
This setup made daily routines smoother. Opening a drawer revealed an organized layout instead of a jumble of products. It also made it easier to maintain the system over time.
Repurposing Trays For A Decorative Touch
Trays offered a simple way to group items together while adding a decorative element. Placing makeup on a tray created a defined area that kept everything contained. It also made the setup feel more intentional.
Using trays of different sizes allowed for flexibility. Larger trays held multiple items, while smaller ones worked well for specific products. Choosing materials like wood, metal, or mirrored surfaces added variety to the design.
This approach made the space feel more organized without requiring major changes. It also allowed for easy adjustments whenever needed. The combination of function and style made trays a versatile option.
Creating Vertical Storage For Limited Space
Limited counter space made vertical storage an important part of the setup. Building or repurposing tiered organizers helped maximize available space without overcrowding surfaces. This approach kept everything accessible while maintaining a clean look.
Stacked shelves or tiered stands worked well for displaying products. Placing frequently used items on lower levels made them easier to reach. Higher levels held items that were used less often.
This arrangement created a sense of balance. It allowed for better use of space while keeping the setup visually appealing. The vertical design added both practicality and style.
Using Magnetic Boards For Small Items
Small metal items like tweezers and compact palettes often get lost in the shuffle. A magnetic board provided a creative solution for keeping them in place. This idea added a unique and functional element to the storage setup.
Attaching magnets to the back of products allowed them to stick to the board securely. Arranging them in a visually pleasing way turned the board into a display as well as a storage solution. It made it easy to see everything at a glance.
This method worked particularly well for saving space. It kept small items off surfaces while still being accessible. The combination of organization and creativity made it a standout feature.
Decorating Storage With Personal Touches
Storage doesn’t have to feel purely functional. Adding decorative elements helped make the setup feel more personal and inviting. Small details like paint, patterns, or accents brought character to each piece.
Matching colors and materials created a cohesive look. Adding labels or small embellishments made the storage feel more complete. These touches turned simple organizers into something that reflected personal style.
This approach made the space more enjoyable to use. It added a sense of creativity to everyday routines. The balance between function and decoration made the setup feel unique.
Maintaining A Clean And Organized Setup
Building an organized system is only part of the process. Maintaining it requires a bit of consistency and attention. Regularly sorting through products and removing items that are no longer needed helps prevent clutter from building up again.
Putting items back in their designated places becomes easier over time. The structure of the storage system supports this habit, making it feel natural rather than forced. Small efforts add up, keeping the space tidy and functional.
This routine also makes it easier to enjoy the space. It reduces stress and saves time during daily routines. The effort invested in organization continues to pay off.
Final Thoughts
A well-organized makeup setup transforms both the look and feel of a space. DIY makeup storage ideas that look beautiful offer a way to combine practicality with personal style. They show that storage solutions can be both functional and visually appealing.
The process of creating these organizers brings a sense of satisfaction. Each piece reflects creativity and attention to detail. Over time, these small projects make a noticeable difference in daily routines.
With a bit of effort and imagination, makeup storage becomes more than just a necessity. It becomes an opportunity to create a space that feels organized, সুন্দর and uniquely personal.


